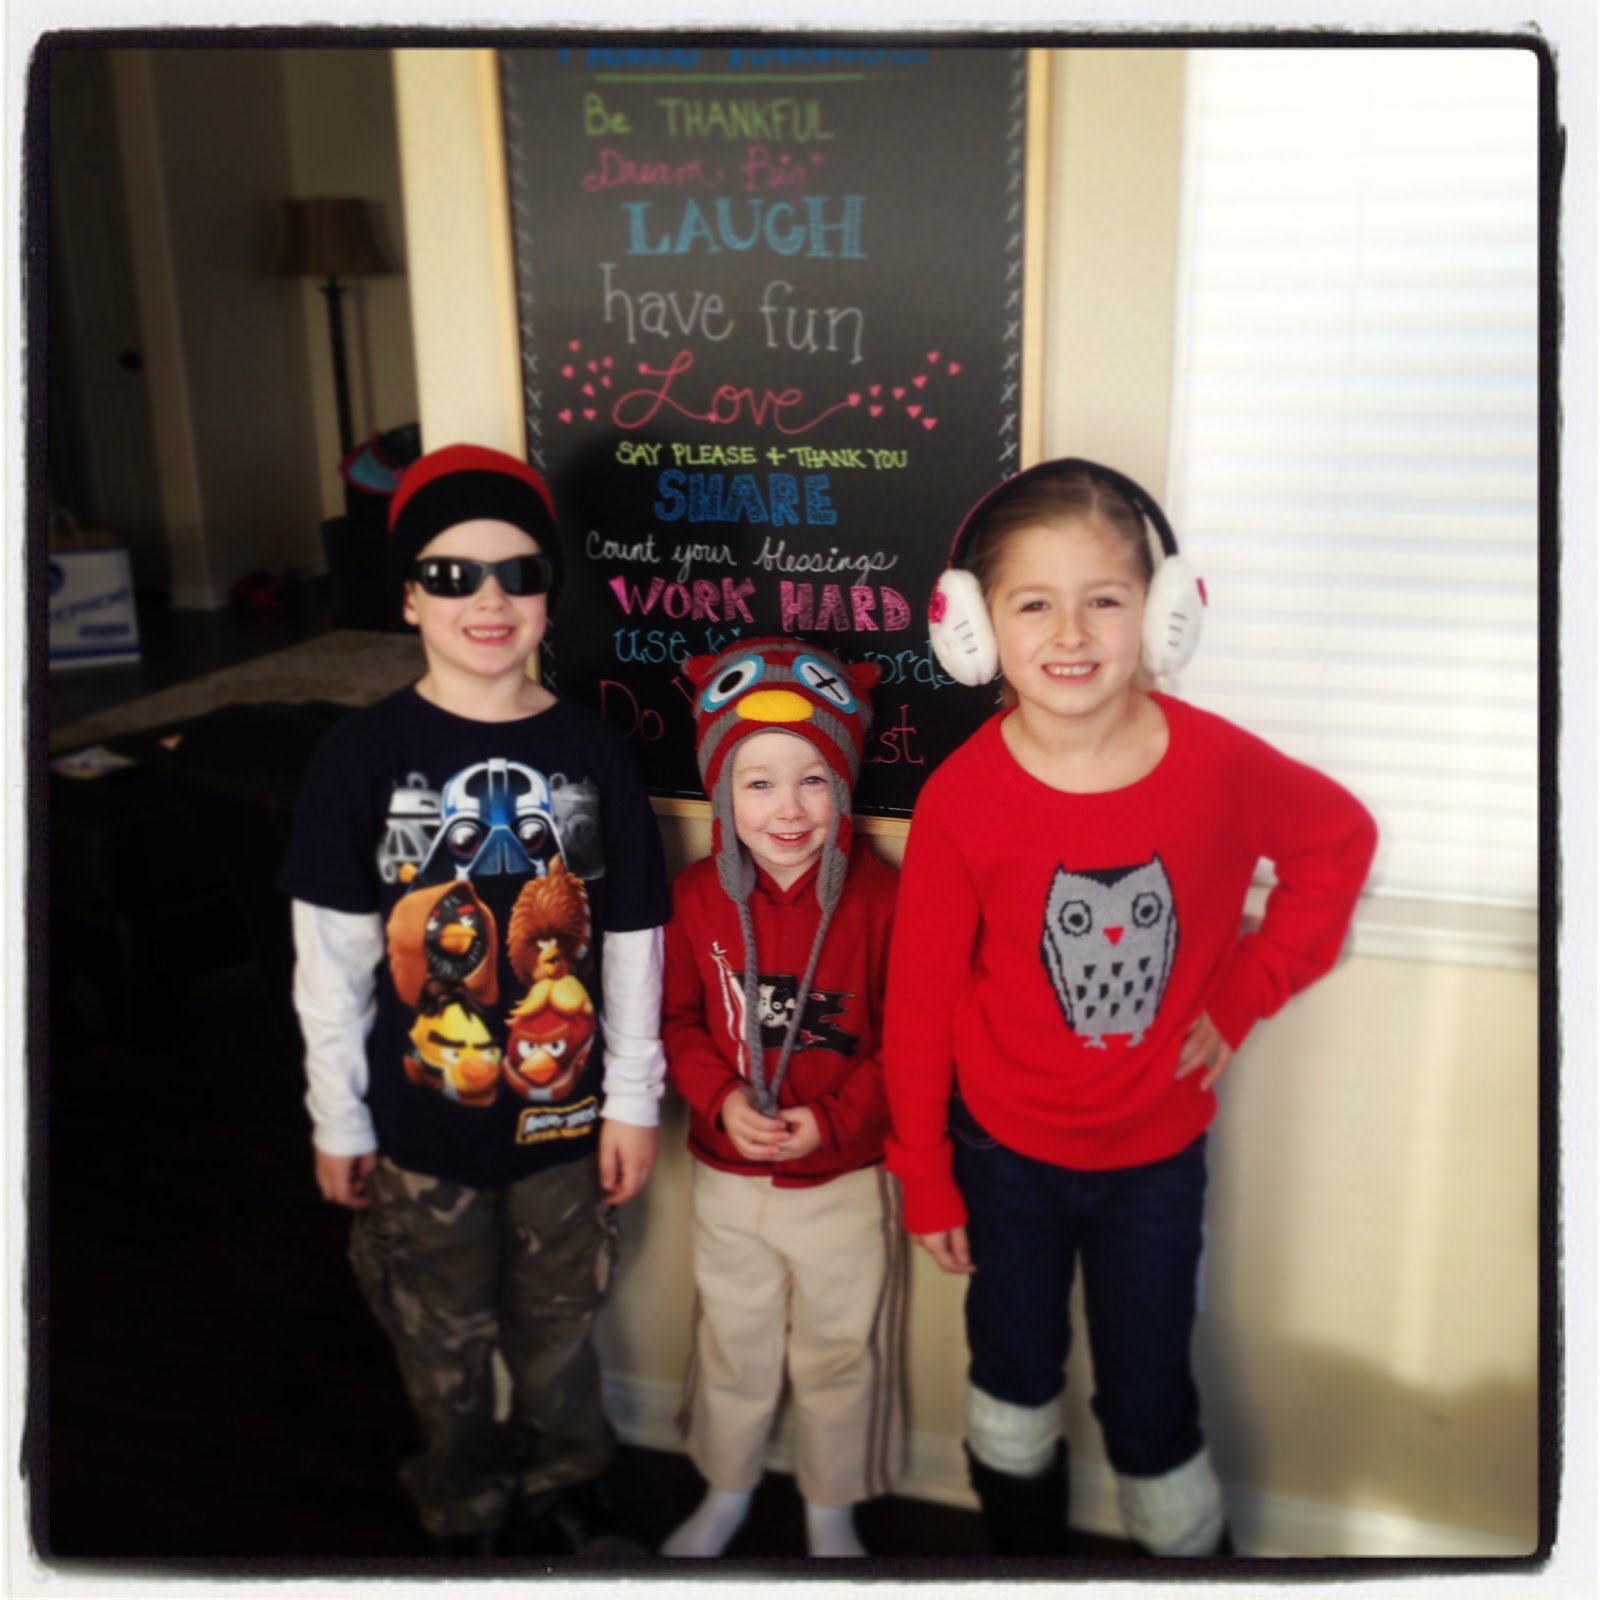
Its been a while since I posted anything new about the living room and dining room transformations. I'm still working on them slowly but surely. My latest addition is this painted sign.

It's very similar to the LOVE sign and is actually hanging on the same wall. I used the same technique I used on the LOVE sign and painted these sayings I found on Pinterest.

Here is a shot of both rooms that I took with my panoramic camera. My wall is actually flat (not curved). You can see how the two rooms are connected, yet still separated by a hallway down the middle.

The opposite wall has a faux "built in" made with Ikea cabinets and bookshelves. I keep meaning to blog about this installation so here is a quick mini post about it.
We purchased the two lower cabinets and three bookshelves from Ikea. Then we painted the back of the bookshelves the wall color (photo wall). We stacked the bookshelves on top of the cabinets and added a piece of trim to the fronts of the bookshelves (where they come together), as well as trim where the bookshelves and cabinets butt up against the wall. We also added crown molding around the top. Then we painted the new trim to match the bookshelves. My dad did the installation for us. He braced all of it to the wall so it actually is built in. I know it would cost a fortune to have this made from scratch but it only cost us about $400 total! I obviously still need to accessorize it but that's not in the budget for now.
We purchased the two lower cabinets and three bookshelves from Ikea. Then we painted the back of the bookshelves the wall color (photo wall). We stacked the bookshelves on top of the cabinets and added a piece of trim to the fronts of the bookshelves (where they come together), as well as trim where the bookshelves and cabinets butt up against the wall. We also added crown molding around the top. Then we painted the new trim to match the bookshelves. My dad did the installation for us. He braced all of it to the wall so it actually is built in. I know it would cost a fortune to have this made from scratch but it only cost us about $400 total! I obviously still need to accessorize it but that's not in the budget for now.

Here is a panoramic of this side of the room. As you can see, I still have no sewing table but we will get to it eventually. In the meantime the empty room makes a great hula hooping area for the kids! :)
Happy decorating!
For more posts about this room transformation check out the links below...
Painted Stripes
Love Sign
Photo Wall
Chevron Table and Chairs
Chair Make Over
Happy decorating!
For more posts about this room transformation check out the links below...
Painted Stripes
Love Sign
Photo Wall
Chevron Table and Chairs
Chair Make Over